Search
Categories
July 16, 2020
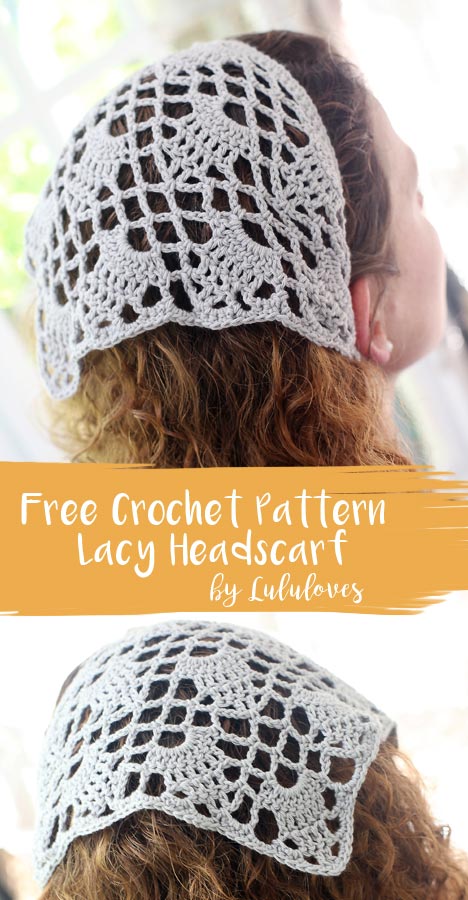
Free Crochet Pattern – Lacy Headband
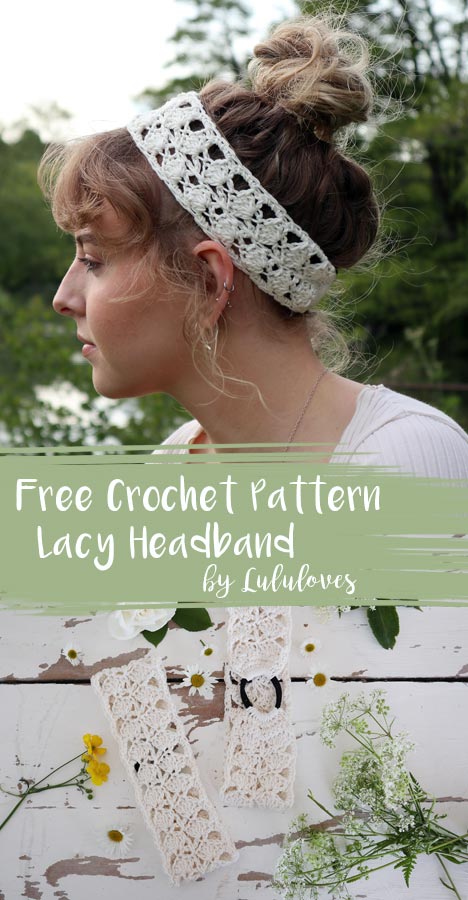
Hello, I’m popping on today with another easy and FREE crochet project – my Lacy Headband pattern. This beautifully simple crochet headband uses a very simple pattern repeat and is joined on to elastic hair ties so will most head sizes…
{and video tutorial}
I designed this crochet headband earlier in the year for the @Crochetzine over on Instagram. I was inspired by the beautiful cow parsley that was surrounding the lanes and road edges here and really wanted to create a delicate pattern that would still be able to withhold being stretched over my head! The answer was to crochet onto an elastic hair tie (you know the type you use to put your hair into a ponytail) using this method I’ve been able to create a stretchy headband that keeps its shape whilst doing a good job of keeping those pesky flyaways out of your face.
The pattern is really simple and is suitable for beginners but to make it even easier to follow along I’ve also created a video tutorial here. There is also a chart of the stitch pattern at the beginning of the pattern if you find it easier to work from charts.


Crochet Lacy Headband Pattern
Yarn
Paintbox Yarns Cotton DK, 100% cotton, 50g (1.8oz) – 20g used
Shades
Champagne white (403)
Yarn Alternatives
Any DK weight cotton yarn should give the same results.
Hook
Other materials
Elastic Hair Tie (ponytail band)
Gauge
Rows 1 – 8 measure approx. 7cm wide x 6cm (measured through the centre of headband to elastic)
Measurements
Headband should fit adult head between 54cm – 62cm circumference. To adjust the size of headband add or subtract number of row repeats.
Finished headband measures approx. 7cm wide x 43cm circumference (unstretched – remember thanks to the elastic tie these will stretch)
Stitches used/Abbreviations:
*Note pattern is written in UK terminology
|
UK Terms |
US Equivalent Terms |
|
Ch = chain |
|
|
St/s = stitch/es |
|
|
Sp = space |
|
|
Sl St = slip stitch |
|
|
Dc = double crochet |
Sc = single crochet |
|
Tr = treble crochet |
Dc = double crochet |
|
r/s = right side |
|
|
w/s = wrong side |
Pattern Notes
The headband is crocheted onto one end of the elastic hair tie and then joined to the other side after the pattern is complete to create an elasticated headband. Edging is added to the completed headband. If you need help don’t forget you can follow along to the video tutorial here.

Row 1: (w/s) Join to elastic hair tie with a sl st, 13dc into hair tie, turn. [13dc]
Row 2: (r/s) 1ch {doesn’t count as st}, 1dc in each st along, turn. [13dc]
Row 3: (w/s) Rep row 2.
Row 4: (r/s) 1ch {doesn’t count as st}, *1dc, miss 2 sts, 5tr in next st, miss 2 sts; rep from * once more, 1dc in last st, turn. [3dc, 10tr]
Row 5: (w/s) 5ch {counts as 1tr + 2ch}, miss 2tr, 1dc in next st, 5ch, miss 5 sts, 1dc in next st, ch2, miss 2 sts, 1tr in last st, turn.
Row 6: (r/s) 1ch {doesn’t count as st}, 1dc in same st, 5tr in next dc, 1tr into dc from row 4 {encasing ch-5 from row below}, 5tr in next dc, 1dc into next ch-sp, turn. [2dc, 11tr]
Row 7: (w/s) Rep row 5.
Row 8: (r/s) 1ch {doesn’t count as st}, 1dc in same st, 5tr in next dc, 1tr into tr from 2 rows below {encasing ch-5 from row below}, 5tr in next dc, 1dc into next ch-sp, turn. [2dc, 11tr]
Rows 9 – 34: Rep rows 7 and 8 thirteen more times (or until you are happy with the size)
Row 35: (w/s) 1ch {doesn’t count as st}, 1dc in each st along, turn. [13dc]
Row 36: (r/s) 1ch {doesn’t count as st}, 1dc in each st along, turn. [13dc]
You will now be joining headband back onto the elastic hair tie, make sure your headband isn’t twisted before you start to join.
Row 37: (w/s) 1ch {doesn’t count as st}, *1dc into elastic tie, sl st back into first st of row; rep from along until all stitches are joined. Fasten off yarn and weave in ends.
Edging
With r/s facing, starting along either edge, re-join yarn to elastic tie with a sl st, work 68dc along edge evenly as follows; 1dc into the edge of each first four rows, 4dc into each ch3/tr space (working around edge of ch3/tr) along, to last four rows, 1dc in each row to end of headband, sl st back into the elastic tie. Repeat for the other side. Fasten off yarn weave in ends.


And that’s it – pretty, quick and simple, the best kind of project! I hope you enjoy making them – if you do and you’d like to share don’t forget to tag me in your photos over on Instagram @Lululoves_uk or use the hashtag #lululovescrochet so I can share them.
Bye for now, Em xx
Some links used may be affiliate links, which means should you choose to buy using them I will receive a (very) small percentage back at no extra cost to you. You can see my full disclosure in the ‘About Me’ section of this blog. Thank you for continuing to support my work.
You can also find me here:
Bloglovin . Facebook . Instagram . Ravelry . YouTube . Etsy
Recent Posts
Christmas Gift Guide 2021
Gift ideas for crocheters and crafters Hello, I'm popping in today with my Christmas 2021 gift guide. It's a bit later than planned but ...
Crochet Podcast Episode 44
Episode 44 of the Lulu Loves crochet podcast is now up. I’m sharing lots of seasonal crochet *ahem* PUMPKINS anyone, a beautifully romantic new WIP, some new crochet books and yarn along with the usual book and TV chatter…
Crochet Podcast Episode 43
Hello, episode 43 of the Lulu loves crochet podcast is now up. I’m sharing some exciting new crochet books this episode along with some finished objects, WIPS a new crochet subscription box and the usual book chatter…
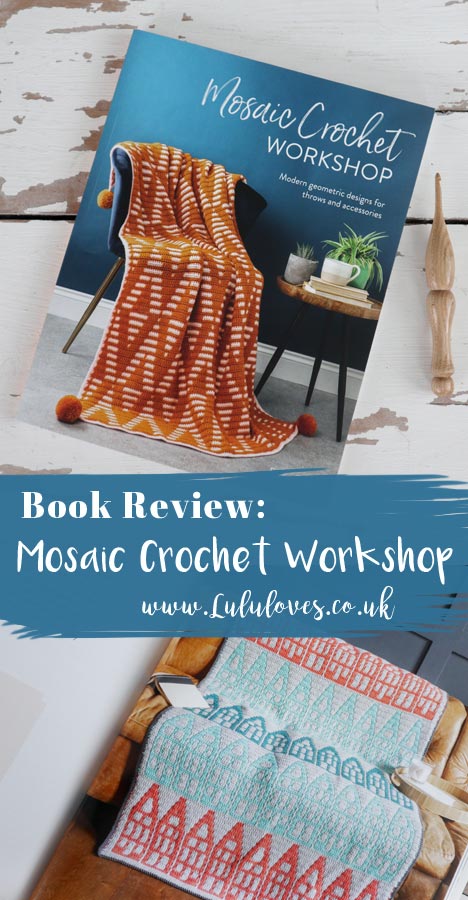
Book Review: Mosaic Crochet Workshop
I was recently sent a copy of Mosaic Crochet Workshop by Esme Crick published by David & Charles and I've enjoyed it so much I felt like it needed its very own post...

