
Search
Categories
May 18, 2012
Free Crochet Pattern – Vintage Collar
I have finally finished writing out and taking photos for the crochet collar pattern I promised. It’s been completely mad here this week, we’ve had a birthday, a shower disaster resulting in some missing ceiling and I have a man cold and we all know how bad they can be!
Anyway, it’s finished and I really hope you enjoy making them…
{18.05.2012}
Crochet Collar Pattern
by Emma Escott
This pattern is for an adult version
I have also just filmed a video tutorial for this pattern over on my YouTube channel – perfect if you are new to crochet or a visual learner like myself! You can find it here.
Pattern written in UK terms
Yarn: DK weight cotton – I’ve used Paintbox DK for lots of these collars
If you are after a more luxurious collar I really love Cascade Ultra Pima as it has a delicate sheen and they have the most amazing colours!
For Lulu’s smaller collar I used Sidar Snuggly Baby Bamboo, but my yellow collar was worked in Wool Rich Heritage 4ply so feel free to experiment – If you’d like a more delicate collar try some lace or sock weight yarn with a smaller hook
Hook: 4mm (you can shop my favourite tools here)
Other Materials: Scissors, yarn needle, small button (approx. 1cm)
Gauge: Not important for this pattern
Measurements: adult collar to fit up to 19″ neck opening – see notes below
Stitches / Abbreviations used:
Ch = Chain
Htr = Half Treble crochet (US HDC)
Tr = Treble crochet (US DC)
Pattern Notes:
For the foundation row, you need to chain in multiples of 4 + 1 until you get the desired length but first, you need to chain a few extra to save for a button loop. How many extra chains will vary depending on the size of the button you choose (for a small button as shown I have chained 5).
The length of your starting chain will depend on the size of your neck and whether you want to wear it with a high or low cut top/dress. The pattern below is based on my neck (fairly average I believe!) and quite a high collar, it measures 19inches approx. So to make it bigger/smaller increase or decrease your foundation chain in multiples of 4. For example for Lulu’s smaller collar I chained 5 (button loop) + 61 + 2 (for turning) = 68 Chains. Also when joining your yarn to the hook leave a long enough tail for sewing the button loop at the end. I have written the pattern below based on my measurements.
{Pattern starts}
Foundation:
Ch 5 (place a stitch marker in the 5th chain) Ch 81 + 2 for turning [88ch] turning chain-2 counts as 1htr in Row 1
Row 1:
1Htr in 4th chain from the hook, 1htr into each of next 79 stitches working up to the stitch marker, (remember we are leaving the first 5 chains unworked for your button loop) Turn.
End of row 1 should look something like this:

Row 2:
Ch3 (counts as 1tr), *skip next st, (1tr, ch2, 1tr) in next st, skip next st, 1tr in next st; repeat from * to end of row, ending with 1tr into final st (ch-3 turning chain). Turn.

Row 3:
Ch3 (counts as 1tr), *(2tr, ch2, 2tr) into next ch-2 space, skip next st, 1tr in next st (should be directly above single tr from the previous row); Repeat from * along to end of row. (make sure your last treble of this row is worked into the top of the turning ch-3 from the previous row – this can be quite tight!) Turn.

Row 4:
Ch3 (counts as 1tr), * (3tr, ch2, 3tr) into next ch-2 space, skip next 2 sts, 1 tr into next st (should be directly above single tr from the previous row); Repeat from * to end of row working last tr into top of ch-3 turning ch. Turn.

Row 5:
Ch3 (counts as 1tr), * 8 tr into ch-2 space, skip next 3 stitches, 1tr into next stitch; repeat from * until end of row working last tr into top of ch-3 turning chain. Finish off and sew in end.

To create the button loop thread the beginning strand of yarn through a darning needle and fold the chain to make a loop, knot it to the collar and weave in ends (see photo below)

And there you have it. These collars can be made and transferred from dress to top although I must warn you that If you want to wear these for any length of time you may be better off stitching them to your clothes as they can move about a bit.


If you have any queries feel free to email me and I will try my best to help. I’d love to know how you get on.
You can also purchase and download the pdf version from my ravelry page here.
There is a French translation of the pattern on this lovely blog: www.laitfraisemag.fr
*A quick note about copyright – Although I have been inspired to make this pattern as discussed here the written pattern itself is mine (I have not copied it) I have put it on my website free for anyone to use, please do not sell or copy this pattern without my consent – although you may, if you wish, link back to this page. Thank you for your support.xx
Have fun, Em xx
This post contains affiliate links – please see the ‘About Me’ section of this blog for full disclosure.
*Edit* Comments for this post are now disabled (too much spam I’m afraid) – please email me if have any queries 🙂
Find me on:
Bloglovin . Facebook . Instagram . Ravelry . YouTube . Etsy
Related Posts
Recent Posts
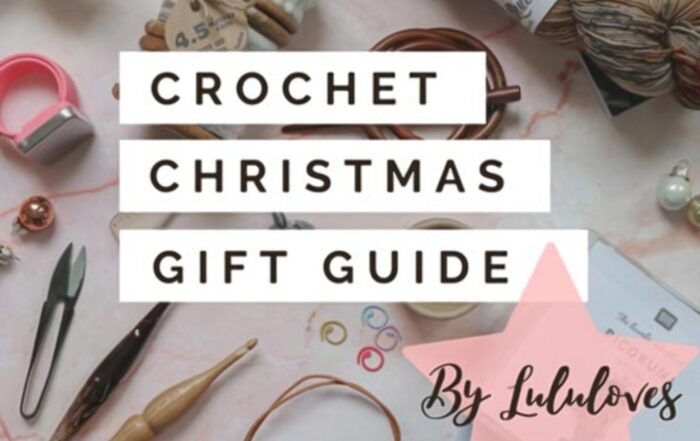
Christmas Gift Guide 2021
Gift ideas for crocheters and crafters Hello, I'm popping in today with my Christmas 2021 gift guide. It's a bit later than planned but ...

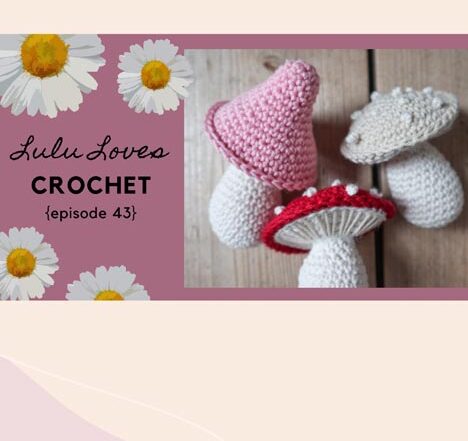
Crochet Podcast Episode 44
Episode 44 of the Lulu Loves crochet podcast is now up. I’m sharing lots of seasonal crochet *ahem* PUMPKINS anyone, a beautifully romantic new WIP, some new crochet books and yarn along with the usual book and TV chatter…
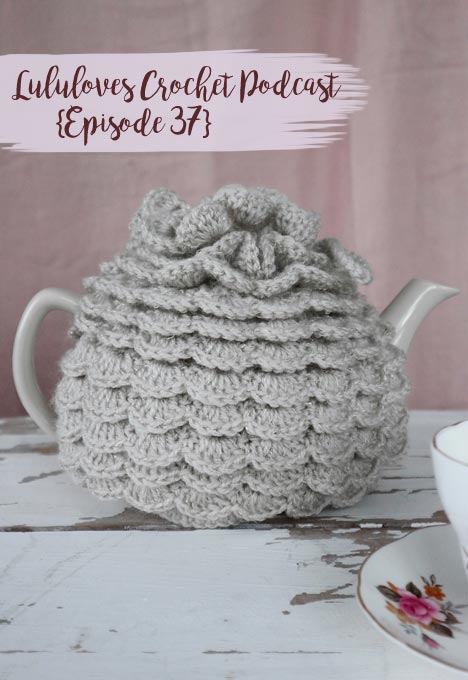
Crochet Podcast Episode 43
Hello, episode 43 of the Lulu loves crochet podcast is now up. I’m sharing some exciting new crochet books this episode along with some finished objects, WIPS a new crochet subscription box and the usual book chatter…
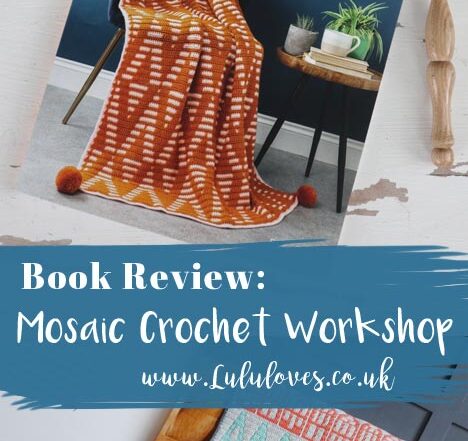
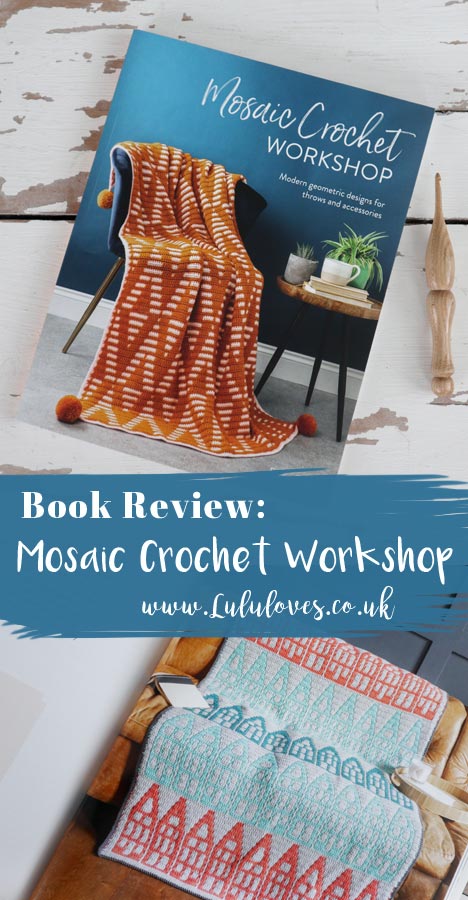
Book Review: Mosaic Crochet Workshop
I was recently sent a copy of Mosaic Crochet Workshop by Esme Crick published by David & Charles and I've enjoyed it so much I felt like it needed its very own post...
