
Search
Categories
October 5, 2012
Crochet Pattern – Granny Square Pincushion
One of the items I’ve been making for our stall at the Christmas fair are some cute crochet granny square pincushions. They can be made in well under an hour, are simple but look great and would make perfect gift/stocking fillers for any craft lover…
… I took inspiration from one of my favourite napkins and tried them with different colours and flower decorations. I came to the conclusion that the flat flowers worked better than the popcorn stitch flowers as the pins go in with more ease; so I’ve written out a pattern (well more of a ‘how to’) for these ones below if you’d like to have a go.


Crochet Pincushion
Pattern written in UK terms
These granny square pin cushions measure approximately 8cm and can be made with any granny squares but I have written out the method I used below, similarly you could decorate with any kind of crochet flowers. I have attached a few photos to help with the flat flower I used for this pattern. The inserts are non-removable and are made by simply sewing (either by hand or on a sewing machine) two small squares of fabric together and stuffing with toy filling. The granny squares are then crocheted together around the insert.
Tools needed:
Yarn: 4 ply Cotton 2 colours – I used a variety of different brands, they all worked well as long as it’s not too stiff.
Hook: 3.5mm (you can shop my favourite tools here)
Yarn needle
Scissors (I use pinking shears to stop fraying)
Two small pieces of cotton fabric for insert – I used some Calico
Cardboard, ruler & pencil for template
Some polyester toy filling
Sewing machine or needle and thread
Stitches used:
Ss = Slip Stitch
Ch = Chain
Dc = Double Crochet (US sc)
Tr = Treble Crochet (US dc)
Pattern:
Granny Square – Make 2
Foundation:
Ch4, join with a ss to create a loop.
Rnd 1:
Ch3, 2tr into loop, ch2, *3tr into loop, ch2; repeat from * twice, join with a ss into top of beginning ch-3
Rnd 2:
Ss across (and into) to ch-2 space, ch3, 2tr into space, ch2, 3tr into same space (creates corner), *3 tr into next ch-2 space, ch2, 3tr into same space; repeat from * twice, join with a ss to top of beginning ch-3.
Rnd 3:
Ss across (and into) ch-2 space (corner), ch3, 2tr into space, ch2, 3tr into same space. *3tr into next space (between clusters of previous rows), 3tr into next space, ch2, 3tr into same space (creates corner); Repeat from * twice, 3tr into final space and join with a ss to top of ch-3.
Rnd 4:
Ss across (and into) ch-2 space (corner), ch3, 2tr into space, ch2, 3tr into same space (creates corner), *3tr into next space (between clusters of previous rows), 3tr into next space, 3tr into corner space, ch2, 3tr into same space (creates corner); repeat from * twice, 3tr into next space, 3tr into final space, join with a ss to top of ch-3. Finish off, sew in ends.
Crochet Flower
Foundation:
Ch3, join with a ss to make a loop (or use a magic loop if you prefer)
Rnd 1:
Ch3, 1tr into loop, ch2, *2tr into loop, ch2; repeat from * three times, join with a ss to top of ch-3 (you should have 5 groups of 2 trebles – see photo)
Rnd 2:
Ss into next ch-2 space, ch3, 4tr into same space, *dc between 2 trebles from previous round, 5tr into next ch-2 space; repeat from * 3 times, join with a ss and finish off, leave a large tail for sewing onto square.

Insert pad
draw around one of your granny squares onto some cardboard, cut out and use the template to create two fabric squares. Use a sewing machine (or sew by hand) to sew the pieces together (aprox. 5 mm from the edge) leaving one side open, stuff with polyester filling then sew the final side closed. If you have too much fabric around the edges just trim them slightly.
Assembling
1. Attach flower – sew the crochet flower to the right side of one of your granny squares, using the long tail of thread on the flower & a yarn needle, I make sure I go through the centre of the flower and the granny square first to keep it central, I then discreetly sew along & amongst the petals.
2. Join your crochet squares – with wrong sides together and flower facing you, use the same colour yarn as you used for your flower, join yarn into a corner (making sure you go through both squares) work 4 dcs into the corner space and 1 dc in each stitch along – Do this along 3 sides then slip you fabric insert in and continue crocheting around. finish off and weave in ends.

And there you have one sweet granny pincushion, so addictive I’ve made 8 this week already…

I hope that all makes sense. If you have any problems please leave a comment or email me and I will try my best to help.
Bye for now. Em xx
This post contains affiliate links – please see ‘about me’ section of this blog for full disclosure
A quick note: Please do not copy or redistribute this pattern, although you may, if you’d like, link to this page. I am happy for items made from this pattern to be sold. Thank you for your support.
Find me on:
Related Posts
Recent Posts
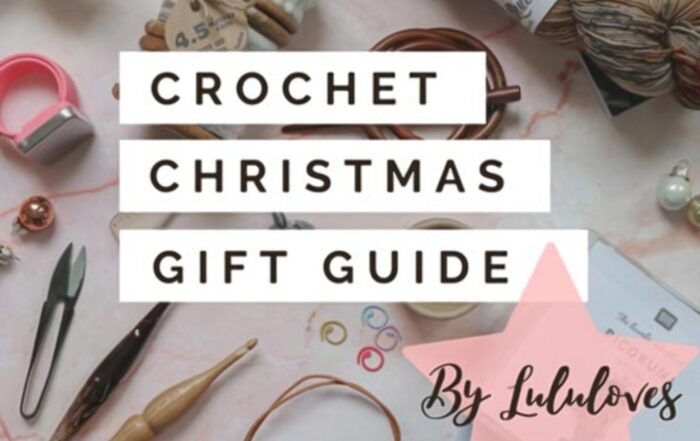
Christmas Gift Guide 2021
Gift ideas for crocheters and crafters Hello, I'm popping in today with my Christmas 2021 gift guide. It's a bit later than planned but ...

Crochet Podcast Episode 44
Episode 44 of the Lulu Loves crochet podcast is now up. I’m sharing lots of seasonal crochet *ahem* PUMPKINS anyone, a beautifully romantic new WIP, some new crochet books and yarn along with the usual book and TV chatter…
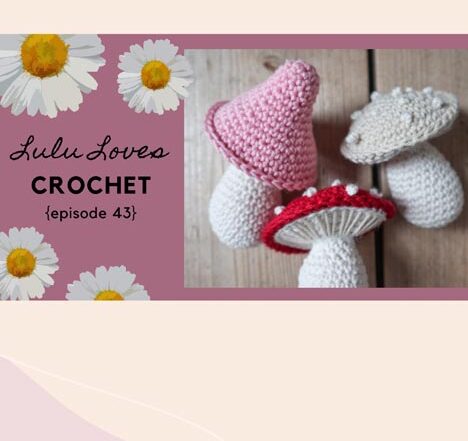
Crochet Podcast Episode 43
Hello, episode 43 of the Lulu loves crochet podcast is now up. I’m sharing some exciting new crochet books this episode along with some finished objects, WIPS a new crochet subscription box and the usual book chatter…
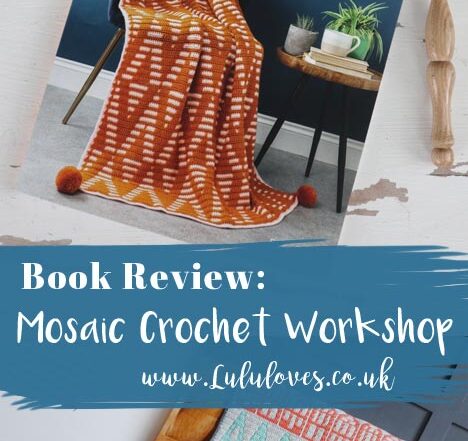
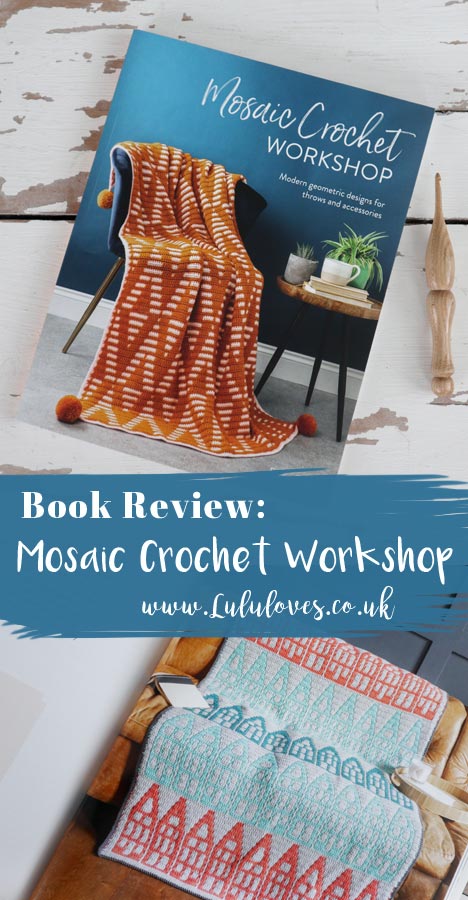
Book Review: Mosaic Crochet Workshop
I was recently sent a copy of Mosaic Crochet Workshop by Esme Crick published by David & Charles and I've enjoyed it so much I felt like it needed its very own post...
