
Search
Categories
February 3, 2013
Free Crochet Pattern – Skinny Hearts
I’m so happy it’s finally February; January always feels like the longest month! With Valentines Day around the corner I’ve been inspired by hearts. There are some great patterns for crochet hanging hearts about and I’ve tried quite a few. But this year I really wanted to have a go at making some hearts that were more like the doodle hearts K and I so often draw…
These are inspired by one of my favourite children’s illustrators, Lauren Child. All my children have loved the Charlie and Lola books and cartoons and I just adore the way she mixes colours, patterns and textures in her creations. If you’ve had the pleasure of reading any of these you will have seen lots of wonky looking hearts!
I had a play about, firstly trying to create a long skinny heart shape and secondly messing about with the top of the hearts – what are these called, lumps, bumps, curves, peaks? I’ve gone with peaks! – I really wanted to get the shape of a doodled heart, you know where one ‘peak’ is slightly taller than the other – lopsided – and I think I managed to achieve that 😉
I had such fun making these and both K and I were happy with the results so I thought I would share the pattern here. I’ve named them Skinny Hearts, which is probably very politically incorrect (maybe slender hearts would be better?), but it sort of stuck in my head so that’s what they are. If you’d like to have a go I’ve written out at the bottom of the post.


Skinny Hearts Pattern
Pattern written in UK terms.
Hook: 4mm (shop my favourite tools here)
Yarn: DK in two colours. (I used a cotton/merino mix)
You will also need some toy stuffing/filler
Stitches/Abbreviations used:
St/s = Stitch/es
Ch = Chain
Dc = Double crochet (US Sc)
Dc2tog = Double crochet two stitches together (US sc2tog)
Ss = Slip Stitch
You will need to ch1 and turn at the end of each row – this does not count as a stitch. The total number of stitches worked for each row is in brackets. The tail of the hearts will curl as you make them but they seem to right themselves once they’ve been stitched together.
Pattern
Foundation: Ch1 (+ 1 for turning) 1dc in second ch from hook.
Row 1: 2dc in dc (2)
Row 2: 1dc in each st (2)
Row 3: 2dc in 1st st, 1dc (3)
Row 4: 1dc in each st (3)
Row 5: 2dc in 1st st, 1dc in next 2 sts (4)
Row 6: 1dc in each st (4)
Row 7: 2dc in 1st st, 1dc in next 3 sts (5)
Row 8: 1dc in each st (5)
Row 9: 2dc in 1st st, 1dc in next 3 sts, 2dc in last st (7)
Row 10 & 11: 1sc in each st (7)
Row 12: 2dc in 1st st, 1dc in next 5 sts, 2dc in last st (9)
Rows 13 & 14: 1dc in each st (9)
Row 15: 2dc in 1st st, 1dc in next 7 sts, 2dc in last st (11)
Rows 16 & 17: 1dc in each st (11)
Row 18: 2dc in 1st st, 1dc in next 9 sts, 2dc in last st (13)
Rows 19 & 20: 1dc in each st (13)
Row 21: 2dc in 1st st, 1dc in next 11 sts, 2dc in last st (15)
Rows 22 & 23: 1dc in each st (15)
Row 24: 2dc in 1st st, 1dc in next 13 sts, 2dc in last st (17)
Rows 25 & 26: 1dc in each st (17)
Row 27: 2dc in 1st st, 1dc in next 15 sts, 2dc in last st (19)
Row 28 & 29: 1dc in each st (19)
Large Peak
[Continue to chain 1 and turn at the beginning of each round – does not count as stitch]
Row 30: 1dc in next 9 sts (9)
Row 31 & 32: 1dc in each st (9)
Row 33: Dc2tog, 1dc in next 7 sts (8)
Row 34: 1dc in each st (8)
Row 35: Dc2tog, 1dc in next 4 sts, dc2tog (6)
Row 36: Dc2tog, 1dc in next 2 sts, dc2tog (4)
Row 37: Dc2tog, dc2tog (2) Finish off.
Small Peak
Turn work so 1st peak is on the right side of heart, leave the middle stitch un-worked and pull yarn through the next stitch, secure with a ch1. (See photo)
Row 30b: 1dc in same st as ch1, 1dc in final 8 sts (9)
Row 31b: 1dc in each st (9)
Row 32b: Dc2tog, 1dc in next 7 sts (8)
Row 33b: Dc2tog, 1dc in next 4 sts, dc2tog (6)
Row 34b: Dc2tog, 1dc in next 2 sts, dc2tog (4)
Row 35b: Dc2tog, dc2tog. (2) Finish off and sew in all ends.

Second side
If you are not worried about having a right/wrong side you can make the second side as above or if you are a perfectionist like me you can make it in reverse by using the instructions below (this should straighten it out a bit):
For second side, work rows 1-29 as above, then work the peaks in reverse starting with the small peak as follows:
Row 30: 1dc in next 9 sts (9)
Row 31: 1dc in each st (9)
Row 32: 1dc in next 7 sts, dc2tog (8)
Row 33: Dc2tog, 1dc in next 4 sts, dc2tog (6)
Row 34: Dc2tog, 1dc in next 2 sts, dc2tog (4)
Row 35: Dc2tog, dc2tog. (2) Finish off.
Large Peak
Make sure small peak is on the right, leave one stitch un-worked (middle stitch) re-join yarn as before.
Row 30b: 1dc in same st as ch1, 1dc in final 8 sts (9)
Row 31b & 32b: 1dc into each st (9)
Row 33b: 1dc into next 7 sts, dc2tog (8)
Row 34b: 1dc into each st (8)
Row 35b: Dc2tog, 1dc into next 4 sts, dc2tog (6)
Row 36b: Dc2tog, 1dc into next 2 sts, dc2tog (4)
Row 37b: Dc2tog, dc2tog (2) Finish off and sew in all ends.
Assembling:
Join both sides by double crocheting around the edges (working through both pieces) Start by joining a contrasting yarn through the unworked stitch between the peaks, adding extra stitches at the top of the peaks and the tail. Once you have worked half way around the heart slowly start to stuff with toy filling – use the blunt end of your hook to get right down into the tail of the heart. Join with a slip stitch to the first double crochet worked. Chain 25 (or how many desired) to make a hanging loop, then join back to the heart with a slip stitch. Fasten off and sew in ends.

The stripey heart was the first one I made and does not have wonky peaks (well not intentionally) you can make both peaks even by working the small peak twice if you’d prefer.


I hope that makes sense but if you have any queries please feel free to email me.
**Please do not copy or reproduce this pattern without my consent, Thank you**
Also I just wanted to say thank you to everyone who has entered the giveaway for the Rico Designs Bruno Bear Kit – The giveaway is open until Tuesday night if you haven’t already entered :))
Bye for now. Em xx
This post contains affiliate links – please see the ‘about me’ section of this blog for a full disclosure.

Find me on:
Related Posts
Recent Posts
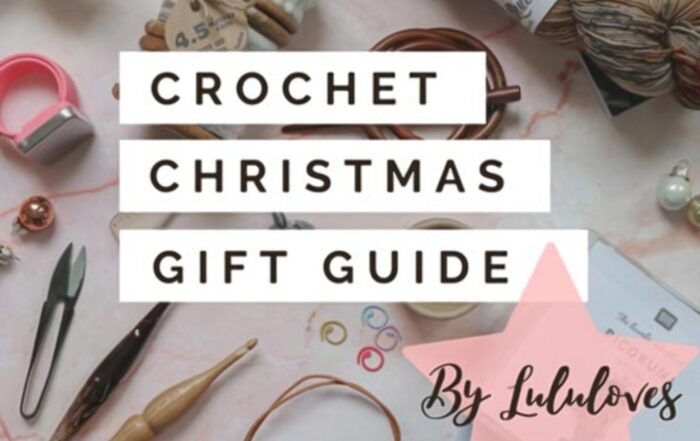
Christmas Gift Guide 2021
Gift ideas for crocheters and crafters Hello, I'm popping in today with my Christmas 2021 gift guide. It's a bit later than planned but ...

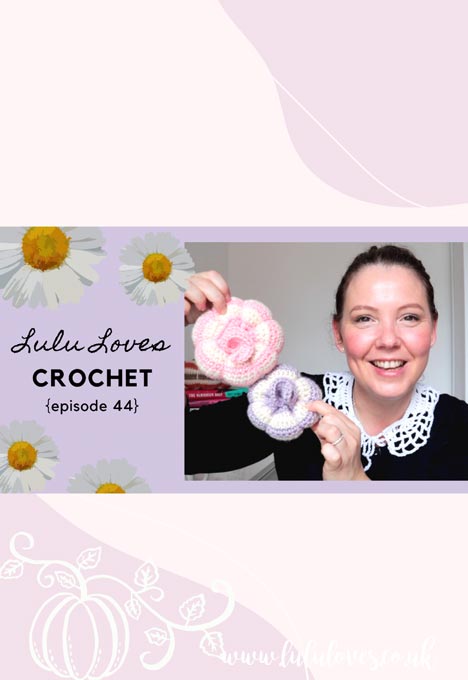
Crochet Podcast Episode 44
Episode 44 of the Lulu Loves crochet podcast is now up. I’m sharing lots of seasonal crochet *ahem* PUMPKINS anyone, a beautifully romantic new WIP, some new crochet books and yarn along with the usual book and TV chatter…
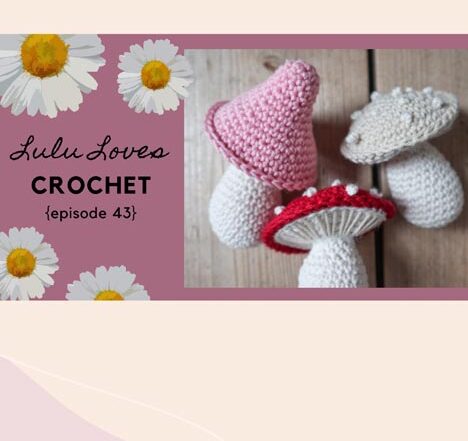
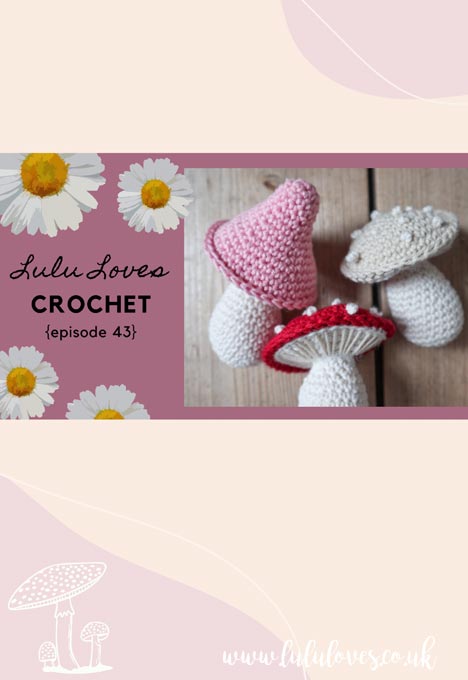
Crochet Podcast Episode 43
Hello, episode 43 of the Lulu loves crochet podcast is now up. I’m sharing some exciting new crochet books this episode along with some finished objects, WIPS a new crochet subscription box and the usual book chatter…
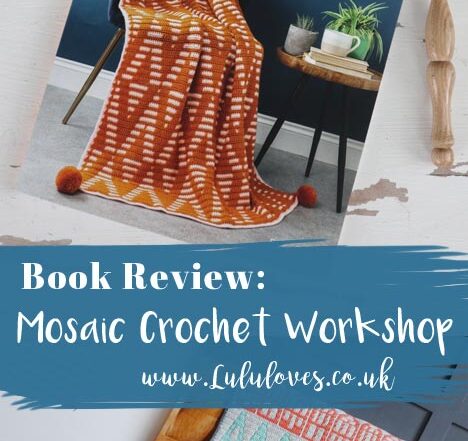
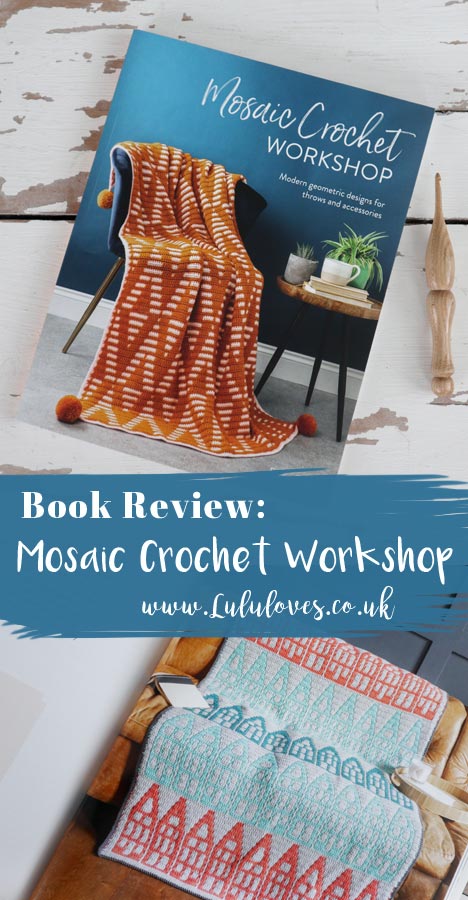
Book Review: Mosaic Crochet Workshop
I was recently sent a copy of Mosaic Crochet Workshop by Esme Crick published by David & Charles and I've enjoyed it so much I felt like it needed its very own post...
